How to use QGIS spatial algorithms with python scripts?

Nikhil Hubballi

9 minutes

Spatial Analytics
QGIS is one of the first tools you come across when you learn about GIS and spatial analysis. You can handle almost every aspect of spatial data and its processing using this open-source software package. Even though it has extensive GUI features to work on, sometimes it's essential to have a way to deal with scripts. Especially for data scientists and data engineers building workflows, the need to have automated scripts that are scalable is high. QGIS offers a Python API called PyQGIS for this very purpose. You can automate most of the QGIS related actions and spatial algorithms through python scripts. Let's explore more on this Python API and learn how to use the QGIS spatial algorithms on python.
If you would like to read more about how location(geospatial) data is rising in importance and is the way forward in data analytics, check out my article on the topic here.
QGIS, as part of its python API, offers a python console on its software. You can use this to access almost anything ranging from QGIS menus and layers to running some algorithms on the data layers. The console does a decent job of handling some small-scale execution of functions. But, if the goal is working with complex workflows and handling larger datasets, this console loses its lustre. It has basic functionalities and lacks the sophistication required for complex workflows.
You can't import the QGIS library from your default python environment. QGIS has its version of python installed to handle all the required modules to run the software. So if you need to use the QGIS library from the python console/jupyter notebook, you need to make sure your python can find the QGIS library paths. Or you can install the QGIS library in your python environment. Let's look at the options in more detail.
Install QGIS libraries using Conda
If you use Anaconda for managing python libraries and work with data science projects, you'll mostly be aware of conda. Similar to pip, conda is a package management system for Python and few other languages. Using conda, you can install the QGIS package like any other library on Python. You can directly install the package in your default (read 'global') python environment. But since QGIS usually has its specific requirements for the dependency modules. So it might upgrade or downgrade critical packages that might create dependency module version conflicts for your other projects.
Ideally, if you use Python for different projects, set up an environment for each project or at least one for the data science workflow. By keeping these separate from the global python environment, you'll keep your system free of package dependency related errors. Therefore the best option to install QGIS libraries is to do it in a virtual environment. It helps in isolating your QGIS packages from the global Python environment.
To install QGIS from conda in your active Python virtual environment, run the following command from the terminal from within the active Python virtual environment. This command installs the necessary QGIS libraries.
Map the QGIS libraries from your Virtual Python Environment
The above method might install few core QGIS libraries for use with your python scripts. But this won't still get you access to all of the QGIS spatial algorithms you use on the Desktop package. For example, if you want to use a GRASS or SAGA processing algorithm that's available on the Processing Toolbox of QGIS, it's not possible by installing just QGIS core libraries. If you use the desktop software regularly, you might find that the installation is heavy and storage consuming. Every time you create a project environment, installing such a big package takes up a lot of storage.
Instead, you can use a much simpler solution. You can use the existing installation of QGIS Desktop and its libraries (even GRASS, SAGA and other algorithms installed using QGIS plugins) by mapping its system environment paths from your default Virtual Python environment. You can use one existing QGIS installation for multiple Python environments without the problem of dependency packages, all while using more than just the core libraries of QGIS.
In this case, I'm demonstrating the process on a Mac OS. But you can follow similar steps for Linux & windows with slight modifications.
Step 1: Fetch System Paths & OS Environment Variables from QGIS Python Console
Open the QGIS Desktop app and open the Python console. Then run the following lines first to export system paths to a CSV file.
Once you do the export of system paths, you need to export the environment variables in QGIS.
The python version you are using, ideally, should be the same as or earlier version of the one used with QGIS installation. To find the Python version and its path installed with QGIS, run the following code and look for the corresponding python executable in the path '/Applications/Qgis.app/Contents/MacOS/bin/' for Mac OS.
Step 2: Initialise QGIS libraries in Python Script before using its Algorithms
Before you can use the QGIS libraries and their spatial algorithms in your python script, we need to set up the environment variables and paths we just exported. Also, we need to initialise the processing module of the QGIS.
First, we import a few necessary python libraries to deal with setting up the environment.
Once we import these libraries, we need to set the environment variables and system paths.
Then, we can actually import the QGIS libraries from our python.
In the next step, we initialise the processing module and its algorithms by adding the Native algorithms of QGIS to the processing registry.
By this step, you have access to all of the QGIS libraries and their spatial algorithms to use from python. You can check all the algorithms you have access to by running the following code.
Currently, these steps solve the import of algorithms from providers like QGIS native algorithms & GRASS. I'm still working on enabling SAGA and other plugins like Orfeo Toolbox etc., for use with Python. Keep checking this blog for updates, or if you know how, let me know.
Running the Algorithm
There are a lot of algorithms you can access from the library. You can run the algorithm to help to see the description of each of the algorithms. The parameters to be supplied to the algorithm are also shown with the help output. To see the help, just run the following code by providing the algorithm id:
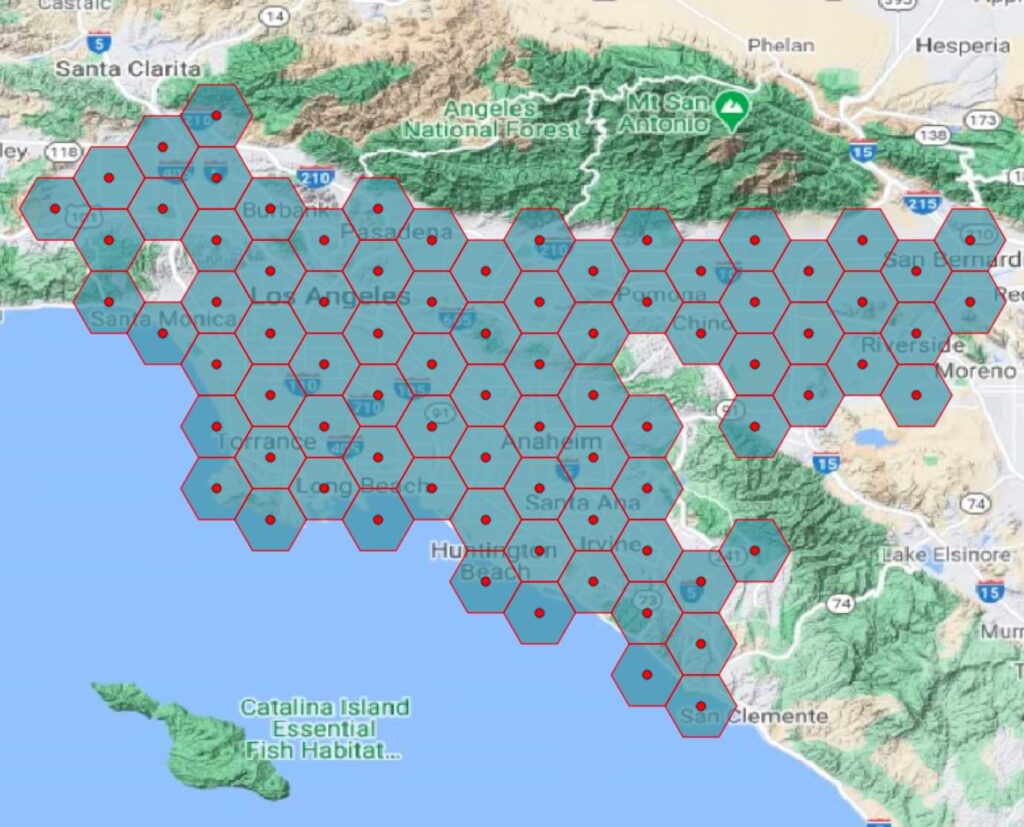
So we know for the case of running centroid algorithm on any vector layer, we know we have to supply 3 parameters and their accepted data type. Let's run a simple centroid algorithm on a vector file containing a few polygons.

For the algorithm, we need to create a parameter dictionary and once done we run the centroid algorithm.
And we can visualise and see the final output of grid centroids on the QGIS Desktop app.

Things to be aware of
- It's ideal keeping the Python version of your virtual environment the same as or earlier version of the one installed with QGIS. Otherwise, this might create issues with some modules that are built for an earlier version of Python.
- Don't forget to exit the QGIS module you initialised by running qgs.exitQgis() where qgs is the variable you used to initialise the module.
- For windows users, since there's an OSgeo4W shell, this entire process is handled slightly different and is not covered here.
- For users with M1 MacBooks, QGIS is installed with intel architecture using Rosetta. And the python installed globally is built on arm64 architecture. Even if you use the Anaconda Python with intel architecture, there are still libraries (esp. data science & spatial data science) that can't be installed. It's essential to match the architecture of the installation of modules so that you can use the QGIS and other libraries with python.
- If you find that your global python installation doesn't match with one on QGIS, esp. in M1 MacBooks, you can use the QGIS python itself for the data science workflow. Since it's built for the spatial data science needs, there's not much left to add to use it for the projects. You can get this python path by following step 1 above.
macOS: /Applications/Qgis.app/Contents/MacOS/bin/python[version]
linux: /usr/share/qgis/python - You can use QGIS Python as mentioned above to install spyder & jupyter notebooks using pip for use with your daily workflows.
I hope this was useful in setting up and using QGIS libraries with your daily python workflows. I'll keep updating this part as I find more information, and I'd be happy to receive any suggestions to improve this further.
If you liked this blog, please subscribe to the blog and get notified about future blog posts. You can find me on LinkedIn, Twitter for any queries or discussions. Check out my previous blog on how to geocode addresses for free here.
Do you like our stuff? Subscribe now.
You may also like


.jpg)


